
Manage Otter Scanners, Configurations, and Schedules
Central discovery with local collection
Keep Otter on the network segment it can assess and manage its work from OTserver. A managed controller polls outbound for assignments, runs a saved configuration, and uploads the resulting evidence. It does not require an inbound listener on the scanner host.
Otter provides both GUI enrollment and a controller command. Install a current Otter release on the scanner host. Local scans and managed operation keep separate configuration and state.
Prepare the manager
Set the encryption key in the manager’s environment and restart it:
| |
Generate the key with openssl rand -hex 32. Keep it stable and back it up alongside OTSERVER_SECRET, database data, and uploaded files. OTserver uses it to encrypt SNMP and OPC UA configuration credentials and run snapshots. Losing the key makes those stored credentials unavailable.
Under Settings > Application settings, set the public controller URL to the address scanners can reach, for example https://otserver.example. OTSERVER_PUBLIC_URL is the deployment fallback. With a custom Docker Compose file, pass the encryption key and any fallback settings into the container’s environment explicitly.
Remote controllers require HTTPS. Same-host operation can use HTTP on localhost, 127.0.0.1, or [::1]; use the same controller URL when enrolling and restarting.
Enroll a scanner
- Create the destination site and check that its site type allows imports and managed scans. Give the operator a role with Otter Config and write access to that site. Admin already has the capability.
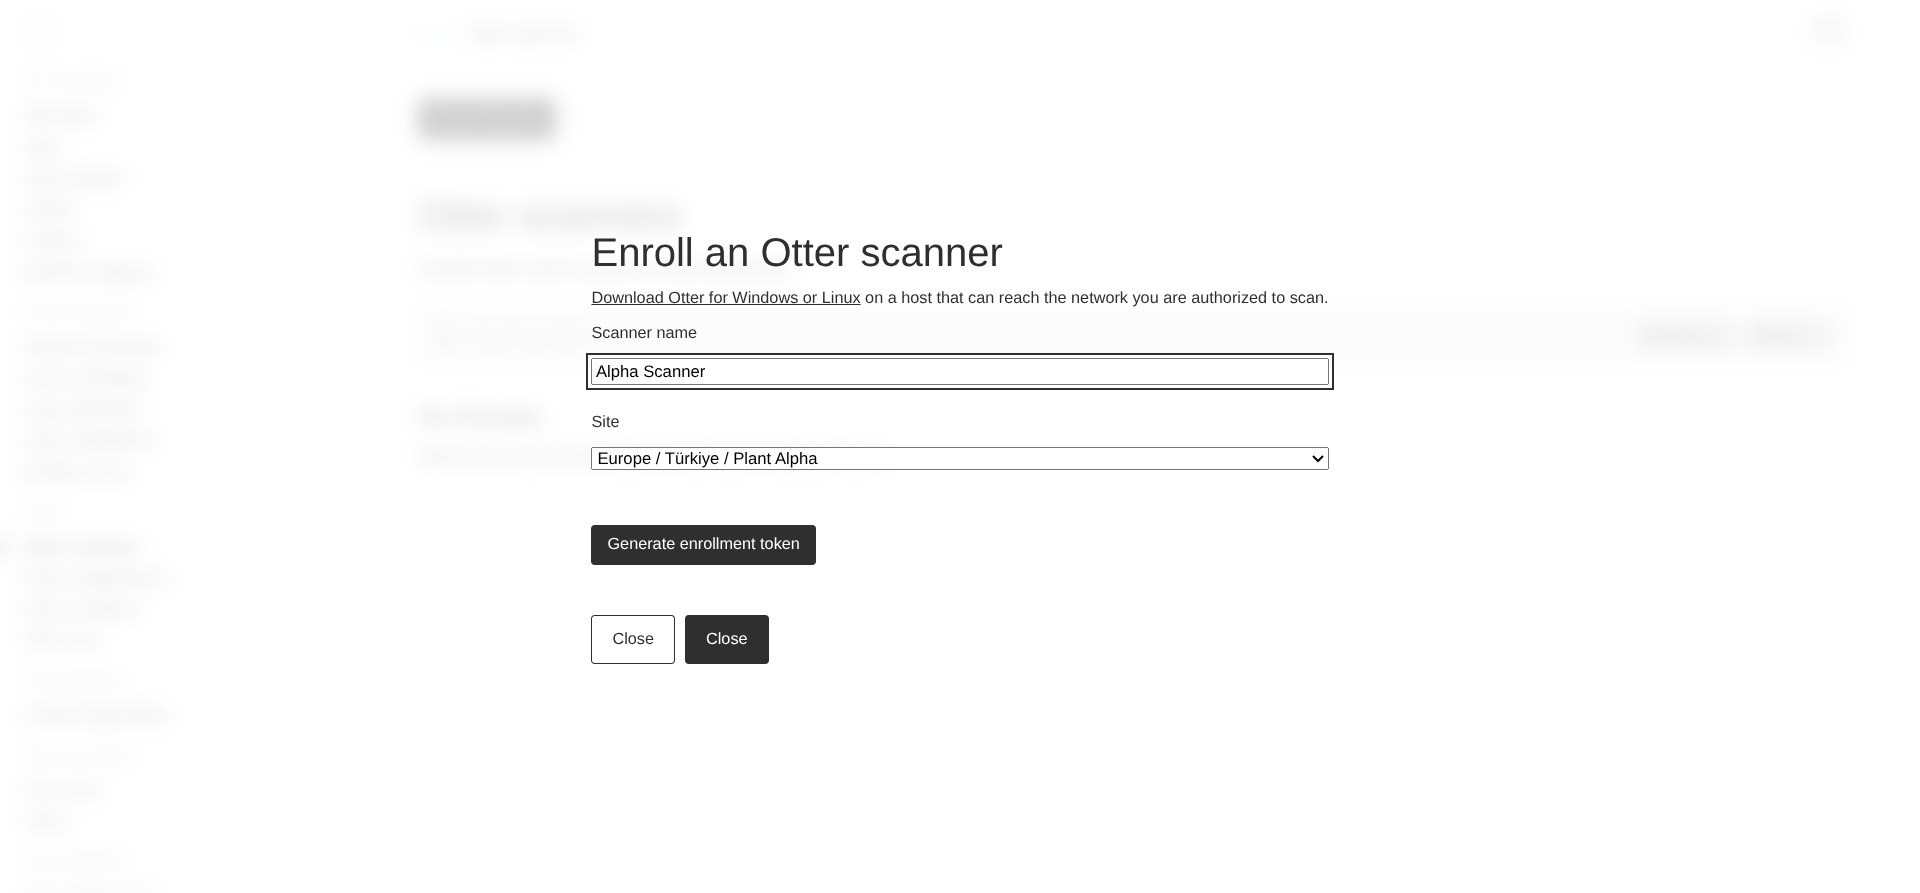
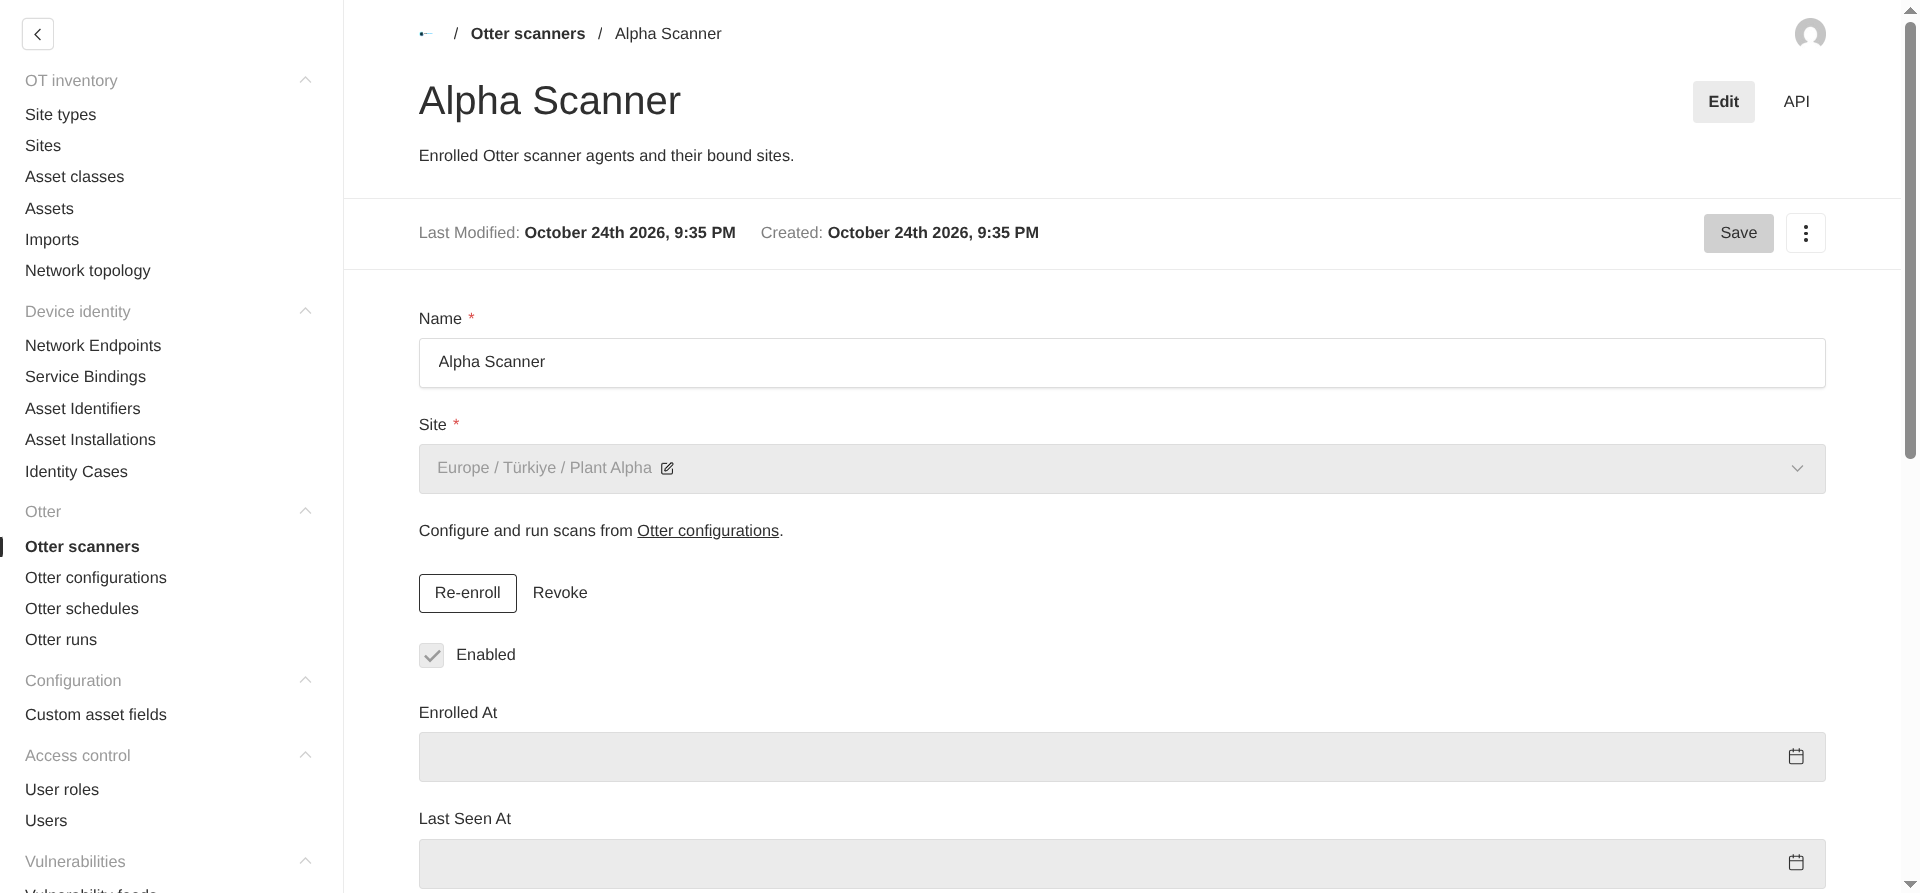
- Open Otter > Otter scanners and the enrollment popup. Enter a scanner name, select its exact site, and choose Generate enrollment token. Copy the single-use token while it is displayed.
- In Otter’s GUI, confirm scan authorization and open OTserver controller > Enroll. Enter the controller URL and token. For CLI enrollment, run the command below and paste the token at the prompt.
| |
The scanner reports its computer name and available adapters, including MAC and IP addresses. Its machine credential is restricted to its own management requests and imports for the exact enrolled site. It does not inherit access to child sites.
For later foreground starts, omit --enroll and reuse the saved URL and credential:
| |
Managed credentials and assignment state use the controller’s private state storage, independently of local otter.json scans. Revoke and re-enroll a scanner to assign it to a different site.
Install the controller in the background
After GUI enrollment, select Install controller and complete any OS prompt. You can then close the GUI. From the CLI, run:
| |
To enroll and install together, add --install to the enrollment command above. Run the installer as the intended normal OS user.
| Platform | Installed controller |
|---|---|
| Linux | A systemd user service named otserver-otter-controller.service. The installer enables lingering for boot and after-logout operation, and grants CAP_NET_RAW to the installed executable. |
| Windows | A current-user Task Scheduler task, started immediately and at login. It supports after-logout operation without storing a Windows password, subject to batch-logon rights and Npcap access for that user. |
The installed controller stores its machine credential in a restricted private file so it can start without an interactive keyring. Managed SNMP and OPC UA credential snapshots remain in memory.
Stop the existing controller before updating or re-enrolling. On Linux, use systemctl --user stop otserver-otter-controller.service; on Windows, select the task in Task Scheduler and choose End. A cancelled installation prompt or setup failure retains enrollment and exported scans, so installation can be retried.
Save a configuration and run it
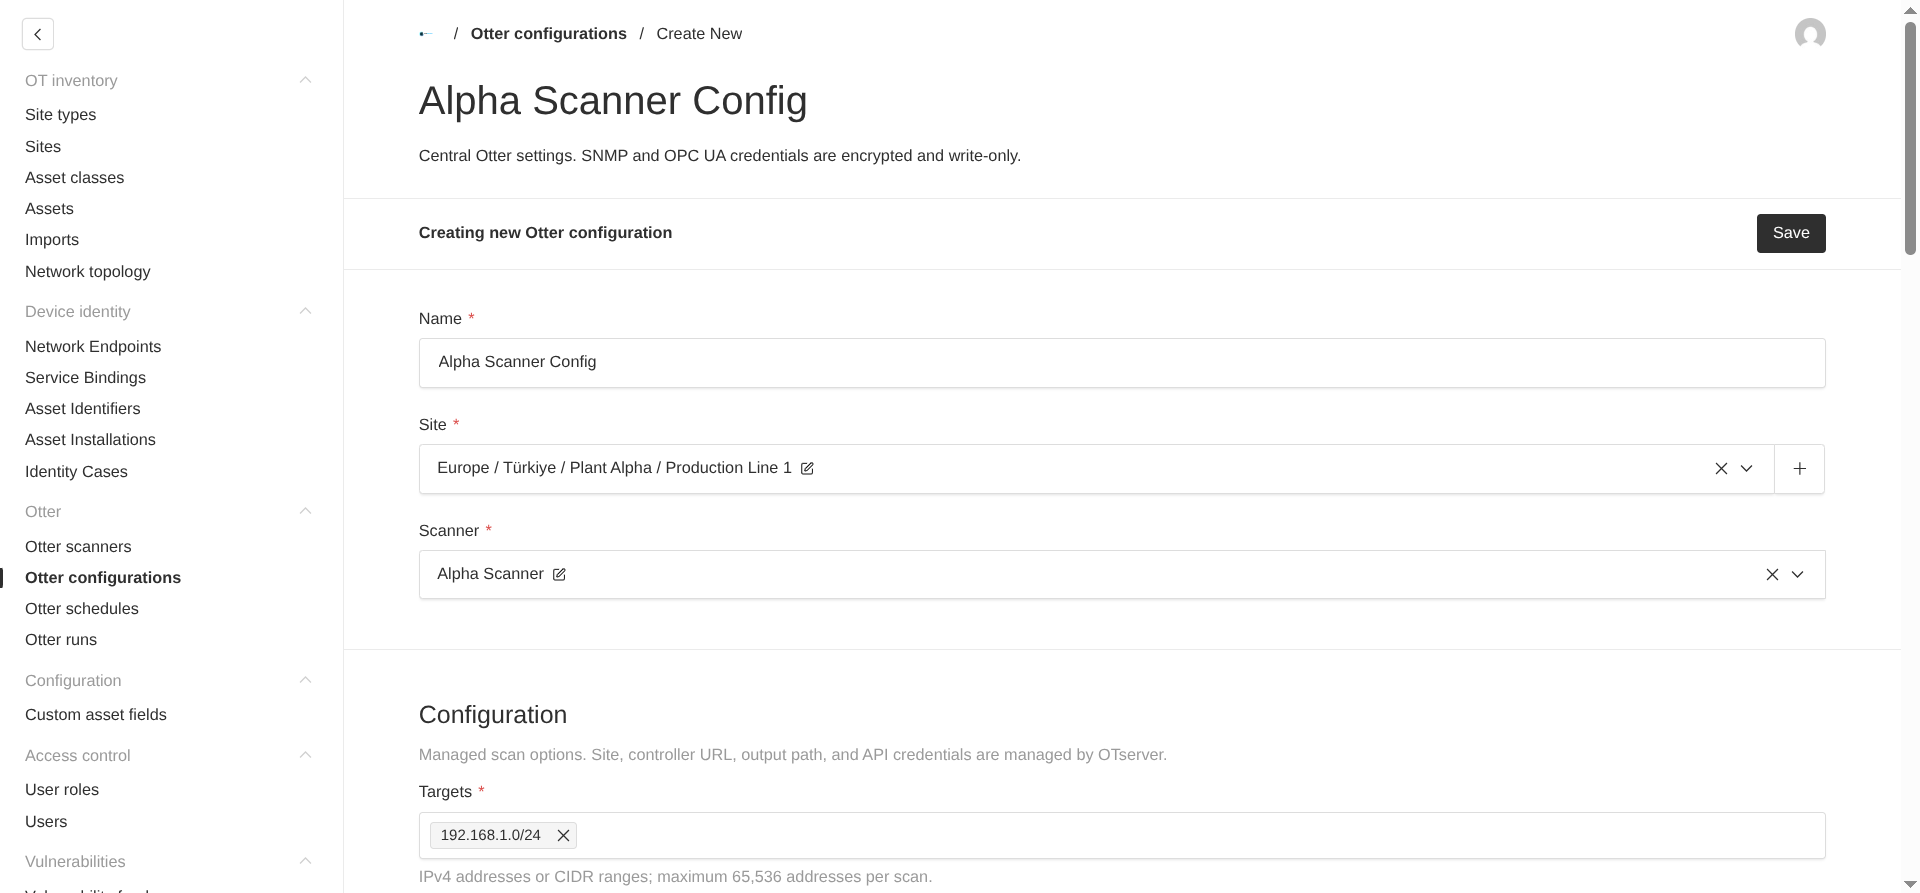
Open Otter → Otter Configurations. Select the scanner and its site, choose an interface from the reported adapters, and set targets, protocol options, credentials, and import overrides. Save the configuration, then select Run now and confirm authorization.
All scan options belong to the configuration. Each run snapshots the options, encrypted credentials, and import overrides together, so later configuration edits do not change an assigned run. The configuration and scanner must belong to the same exact site, even when the operator has access to the whole hierarchy.
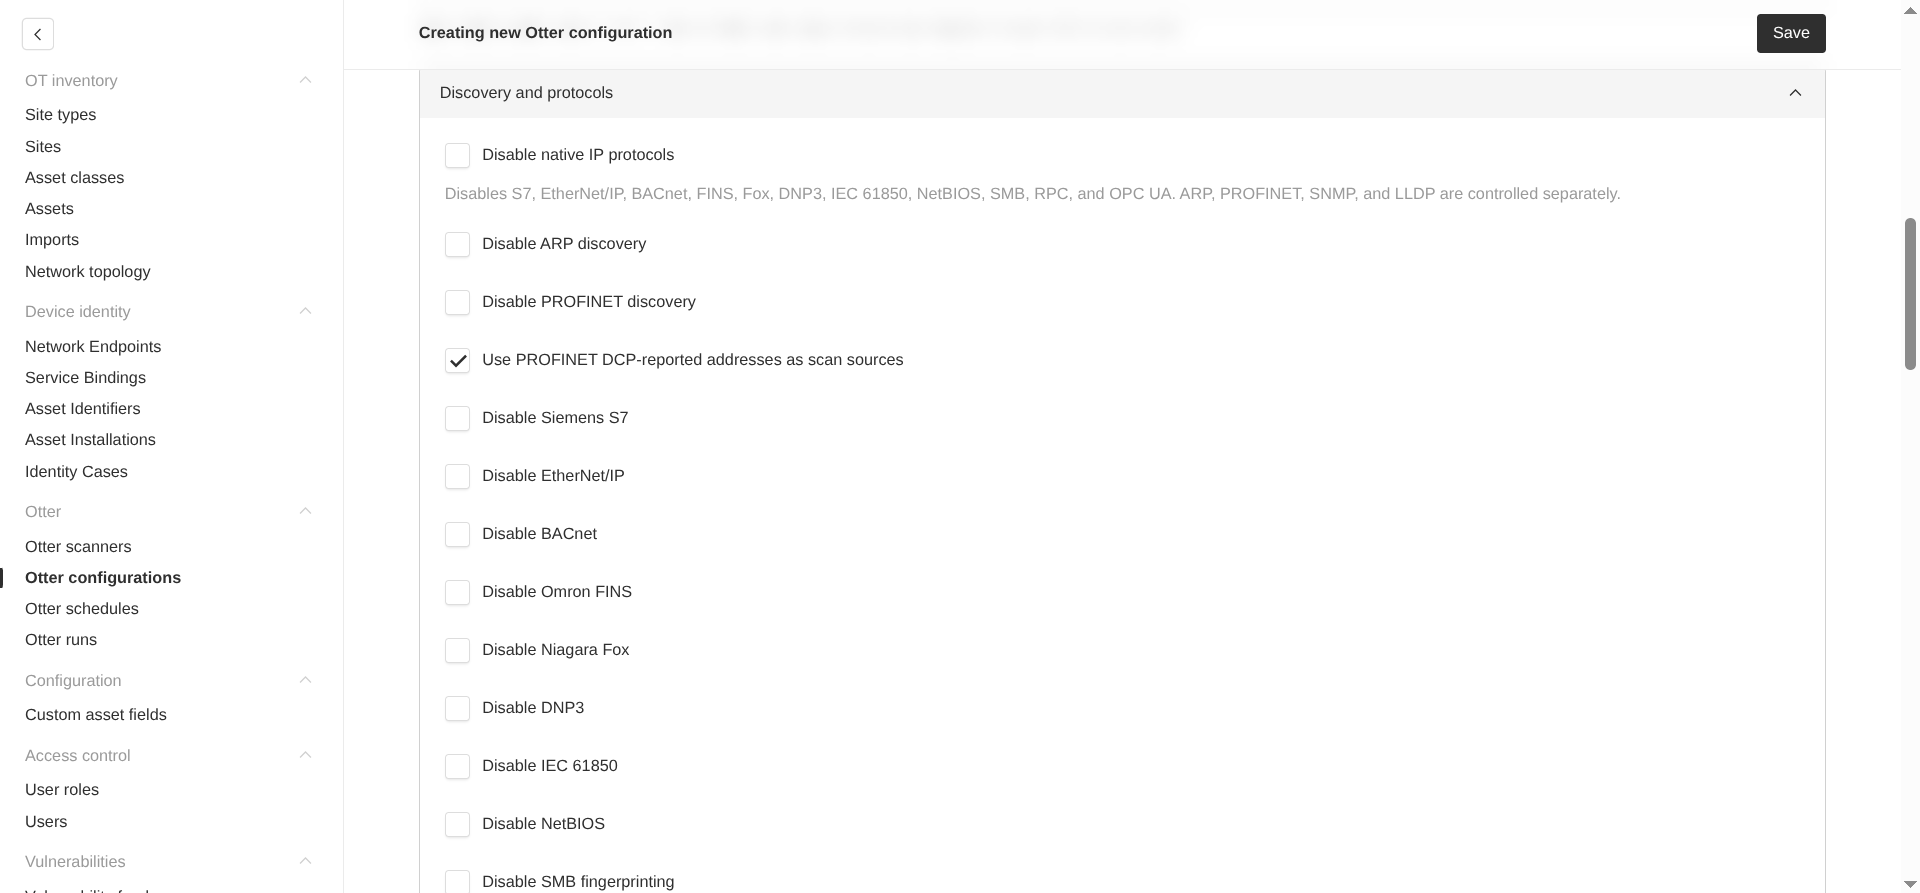
Review the discovery switches for the selected segment. Disable protocols that are not approved there. Use PROFINET DCP-reported addresses as scan sources allows unambiguous DCP-reported targets outside the configured IP range into later probes; leave it off unless that wider scope is authorized.
Schedule and review discovery
Create a one-time, interval, or cron schedule that references the saved configuration. Cron schedules support a selected time zone. The manager derives the scanner and exact site from the configuration. Keep the controller running so it can poll for work and report heartbeats. A scanner receives one active assignment at a time; after downtime, schedule catch-up selects the latest due occurrence rather than replaying every missed scan.
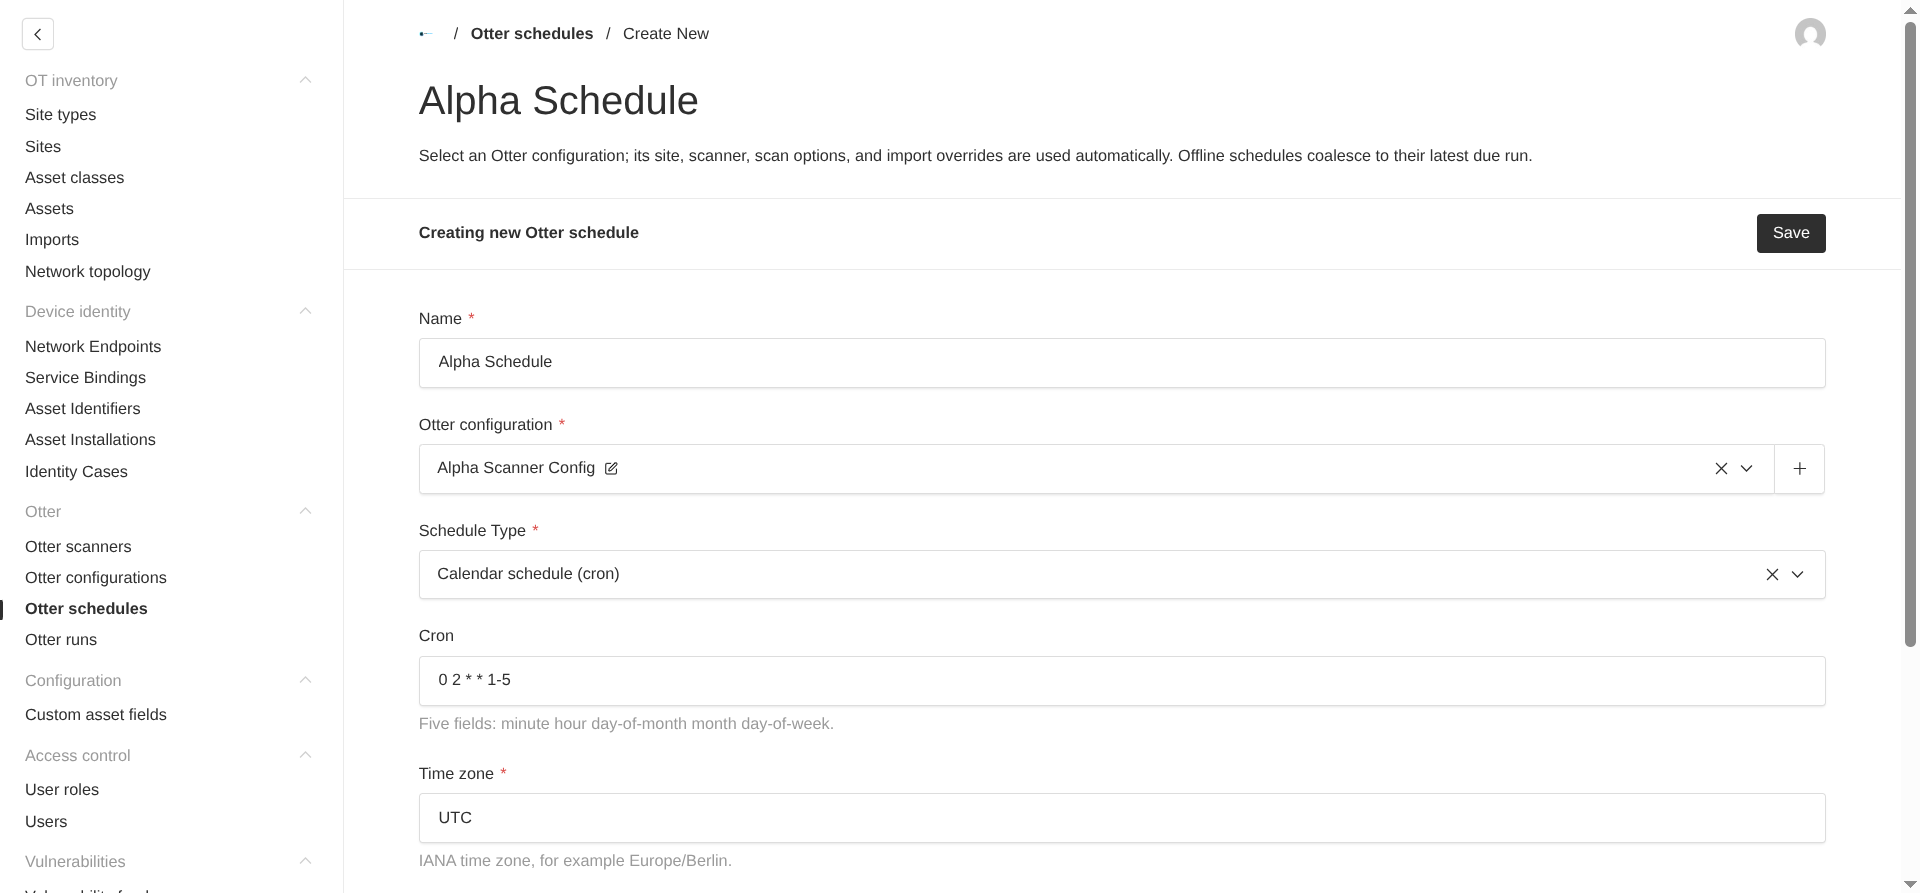
Review Otter Runs for status and terminal failure reasons. Managed import names include the scanner, site, and UTC timestamp. Open the import to inspect its results and warnings, then check the asset’s observations and history.
If no work arrives, verify the controller process, enrollment status, configuration, schedule, and site permissions. A missed heartbeat can expire a run; its failure message remains available in run history.
Interrupted scans and uploads
The controller reports progress and renews its lease during scanning and uploading. Cancellation, lease loss, or rejected authentication stops the run. Interrupted discovery is recorded as failed work rather than restarted automatically.
Completed exports remain in the controller’s state directory. Upload transport failures retry after two minutes, up to five retries after the initial attempt, with the retry count preserved across restarts. A queued import can still be processing after the scanner finishes uploading; check its import status separately. Enable queued submissions under Settings > Application settings before using --queued-imports.
If an administrator blocks imports on the site’s type, OTserver pauses new assignments and requests cancellation of active runs on the next poll or heartbeat. Existing inventory and run history remain available.